Making Convincing Seamless Textures from Photographs
Textures can be extracted from most any picture but anyone who has snapped a picture of some grass and tried to use it in a 3D rendering has discovered that converting a picture to a texture can have its challenges. One of the first things you should consider when making a texture from a photograph is whether or not to make the texture seamless. Why make a texture seamless? The image may be smaller than the modeled object and will have to be repeated over its surface. This is obvious if you want to create a large field from a picture of some grass but this scenario can come up with most any object. If the image matches the size of the object, but the texture is rapped completely around it so that the edges meet, they should meet without a seam (unless the seam can be hidden). PhotoShop has made digital editing of photographs very easy. However, making a convincing seamless texture requires more than just a few swipes with the clone tool. This tutorial assumes the reader to have at least some experience with Photoshop.
Part 1. Shading
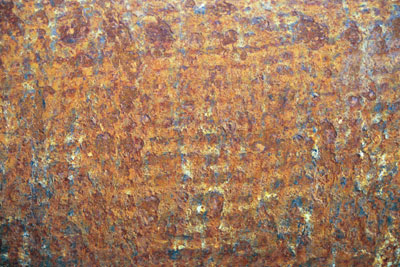
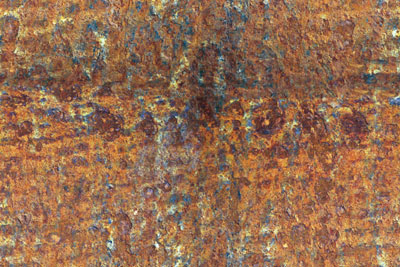
A good seamless texture should not only tile without a visible edge, but it should also not show the evidence of a manipulated edge. For example, as is the case with many raw photos, there is a subtle difference in the shading from the top to the bottom of the photo shown below. This shading becomes quite apparent when an offset (with wraparound) is applied.
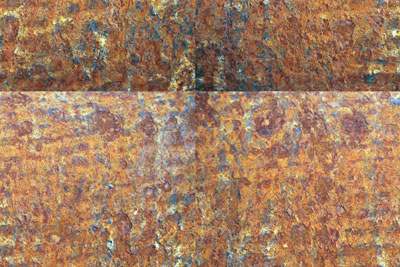
As shown below, using the clone tool will remove the seem but leave a sharp transition in shading. Such a transition is often just as bad as the seem.
Fortunately, if the shading is not too severe, it can usually be corrected with an adjustment layer. The worst of the shading discrepancies will be at the edges of the image. You may want to crop off a small amount to start. Go to Filters and apply an offset with wraparound. Place the seam about two thirds down the image as shown above. Select two thirds of the image being careful to place the marquee right at the seam. Insert an adjustment layer and choose curves (or levels if you prefer). Don't worry about the adjustment yet. With the selection still active, Click on the layer mask while holding the option key to make it visible. Select the gradient tool with the foreground 100% white and the background 100% black. Starting near the seam, drag a large gradient that fills most (but not all) of the selection. Be careful not to apply any angle to the gradient. Inverse the selection and fill it with black. The layer mask should now look similar to the image below.

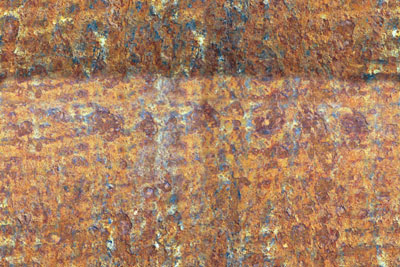
Click to make the image visible again and deselect. Now, apply the curves until the shading matches at the seam. Merge the adjustment layer down to finish the correction.
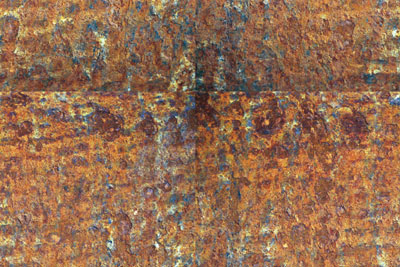
The seams can now be removed with the clone tool without obvious artifacts from the original image.
![]()
Copyright © 2004 Bit Brush Graphics, 1501 Resaca Blvd., Austin, TX 78738
(512) 587-4700